Growing Tips
Companion Planting
Companion Planting
by Hetty (CL) | 15th September 2023

We asked Liz (and Maisie of course)   “What are the benefits of growing herbs as companion plants?”

Many of us grow herbs in containers and the garden to use in the kitchen. But grown as companion plants herbs benefit other plants as well. Companion planting helps maintain a natural balance in the garden by growing plants together that are mutually beneficial. How this is achieved depends on the plant combinations planted.

Plants used as companions have many different qualities, a better known one is being loved by pollinators to help improve the pollination of plants close by. Many are highly scented which helps confuse pests looking for their target plant. Some plants attract beneficial insects such as ladybirds and lacewings to prey on aphids and other plants have antifungal or antibacterial qualities.

There are many herbs that can be planted as companions, with just a few examples here. The planting of Lavender with leeks and carrots takes advantage of its strong scent to deter insect pests. Lavender is also highly attractive to many pollinators such as bees, hoverflies and butterflies. So, planting it close to crops that often need a helping hand with pollination such as beans and tomatoes should increase how many pollinators visit.

Marigold Pot, Calendula officinalis, not to be confused with ornamental marigolds, is a fantastic companion for many plants. When planted with French and runner beans it can lure aphids away as well as attracting the beneficial insects to prey on aphids. It’s also very attractive to pollinators, increasing pollination of some vegetable crops, for example when planted under courgettes.

Planting Borage, Borago officinalis, near strawberries is said by many to improve their flavour. Borage’s pretty star like blue flowers are a favourite of many pollinators, especially bees. Try growing Borage under fruit trees to help pollinate crops.

Chervil helps deter slugs and snails, plant it thickly to protect lettuces, broccoli and radishes. The Nasturtium family attracts the cabbage white butterflies to lay their eggs on them rather than on brassicas as well as deterring aphids form beans.

Companion planting is most common in the vegetable garden but other plants, such as roses, also benefit. Growing herbs and vegetables together saves space, aids pollination as well as discouraging pests and preventing disease. The end result is higher crop yields for less work, a win win!

Angelica
Angelica
by Hetty (CL) | 27th February 2023

Angelica archangelica, commonly known as garden angelica or wild celery (other names include angel’s fishing rod, archangel, aunt Jericho
ground ash, Holy Ghost, root of the Holy Ghost and St Michael’s flower)
, is a biennial herb that has been valued for centuries for its medicinal and culinary uses. Native to northern Europe, it is a tall and striking plant that can grow up to six feet tall with large, fern-like leaves and clusters of small greenish-white flowers.

Growing Information: Angelica archangelica is a hardy plant that is relatively easy to grow. It prefers cool and damp conditions and is often grown in gardens or along streams and riverbanks. Here are some tips for growing angelica archangelica:

  1. Planting: Angelica archangelica is typically grown either a 9cm pot or a more established 1 Ltr pot.  Plant in the spring or autumn in a location that gets partial shade and has well-draining soil.
  2. Soil: The plant prefers moist, fertile soil that is rich in organic matter. Add compost or well-rotted manure to the soil before planting.
  3. Watering: Angelica archangelica requires consistent moisture, so be sure to water regularly, especially during dry spells.
  4. Fertiliser: Angelica archangelica does not require a lot of fertiliser, an environmentally friendly fertiliser such as Maxicop Seaweed in the spring can help the plant grow stronger and healthier.
  5. Harvesting: The leaves and stems of angelica archangelica can be harvested in the second year of growth, typically in the summer when the plant is in bloom. The roots can be harvested in the autumn of the first year or in the spring of the second year.

Angelica is a versatile herb that is used in both sweet and savoury dishes. Some ways to use it in cooking are as follows:

  1. Candied Angelica: The stems of angelica can be candied and used as a garnish or a sweet snack. To candy angelica, blanch the stems in boiling water, then simmer them in a sugar syrup until they become translucent. Remove the stems from the syrup and let them dry on a wire rack before using them.
  2. Angelica Tea: Angelica leaves and stems can be used to make a fragrant tea. Simply steep the leaves and stems in hot water for 10-15 minutes, strain, and sweeten if desired.
  3. Angelica Infused Oil: Angelica leaves can be infused in oil and used to flavour salad dressings, marinades, or roasted vegetables. To make angelica oil, gently heat oil (such as olive oil) in a pan with angelica leaves until the oil is fragrant. Strain out the leaves and use the oil as desired.
  4. Angelica in Baking: Angelica can be added to baked goods such as bread, cakes, and biscuits. Dried angelica can be chopped into small pieces and added to the batter or dough. The herb’s unique flavour profile pairs well with citrus flavours and can add a sweet and tangy note to baked goods.
  5. Angelica in Savoury Dishes: Angelica can be used to flavour savoury dishes such as stews, soups, and roasted meats. The herb’s strong flavour profile can balance out rich or fatty dishes. Use the leaves and stems chopped finely as a seasoning, or add whole stems to the cooking liquid and remove before serving.

It’s important to note that angelica is a potent herb, and the leaves, stems, and seeds can be toxic in large quantities. As such, it’s important to use the herb in moderation and follow recommended guidelines for safe consumption.

In addition to its use in cooking, angelica archangelica has a long history of medicinal use. The plant contains a variety of compounds that have been shown to have anti-inflammatory, antibacterial, and antioxidant properties. Here are some additional uses of angelica archangelica:
  1. Digestive aid: Angelica archangelica has been used for centuries to aid digestion and relieve stomach problems such as bloating, gas, and indigestion.
  2. Respiratory health: The plant contains compounds that can help relieve coughs, colds, and other respiratory problems.
  3. Women’s health: Angelica archangelica has been used traditionally to regulate menstrual cycles and relieve symptoms of menopause.
  4. Skin health: Angelica archangelica has been used topically to treat skin conditions such as eczema, psoriasis, and acne.
  5. Aromatherapy: The essential oil of angelica archangelica has a calming and uplifting effect and is used in aromatherapy to relieve stress and anxiety.

In conclusion, angelica archangelica is a versatile and valuable plant that can be grown easily in the garden and has a variety of medicinal and culinary uses. Whether you are interested in cooking with fresh herbs or exploring natural remedies, angelica archangelica is definitely worth considering.

Lavender Hedging
Lavender Hedging
by Hetty (CL) | 24th February 2023
🌸🌿🌸💜 Transform your garden with the sweet scent of Lavender! 💜🌸🌿🌸

Our Lavender plants are perfect for hedging or bulk planting, and they will fill your garden with a calming aroma that you’ll love.🌺🌸

With its striking purple flowers and soft, silvery foliage, Lavender is an attractive addition to any garden. Not only does it look and smell beautiful, but it’s also a great plant for attracting pollinators like bees and butterflies.🦋🐝

Lavender is a popular plant known for its beautiful fragrance and stunning purple blooms. It’s often used to create hedges in gardens, adding a touch of elegance to any outdoor space. If you’re looking to plant a lavender hedge, here’s everything you need to know to get started.

Choosing the right lavender variety
Before you begin planting, it’s important to choose the right lavender variety for your hedge. There are several types of lavender available, including English lavender (Lavandula angustifolia) and French lavender (Lavandula stoechas). English lavender is the most popular variety for hedges due to its hardiness and lovely scent, we would recommend either Hidcote or Munstead.

Preparing the soil
Being a Mediterranean plant, Lavender is most suited to sunny positions, it will not survive if kept for long in shady, damp or extremely cold conditions.  It prefers poor, dry or moderately fertile soil, including chalky and alkaline soils. Lavender will not thrive in heavy clay soil or any soil that becomes waterlogged over winter, it requires well-drained soil, so it’s essential to prepare your soil before planting. Begin by removing any weeds and rocks from the area where you’ll be planting. Then, loosen the soil with a garden fork to a depth of around 30cm. Mix in some organic matter, such as compost or manure, to improve soil structure and fertility.

Planting the lavender
Lavender is best planted in April or May.  Once you’ve prepared the soil, it’s time to plant your lavender.  Start by digging a trench that’s around 15cm deep and 30cm wide. Space your lavender plants around 30cm apart, ensuring that each plant is at the same depth it was in its original pot. Gently firm the soil around each plant, and water thoroughly.

Caring for your lavender hedge
Lavender is a relatively low-maintenance plant, but it does require some care to thrive. Here are some tips for keeping your lavender hedge healthy and looking its best:

  • Watering: Lavender doesn’t like to be waterlogged, so it’s best to water it deeply once a week during dry spells rather than giving it frequent shallow waterings. Be sure to water at the base of the plant rather than on the leaves to avoid fungal diseases.
  • Pruning: Lavender should be pruned twice a year to keep its shape and promote new growth. Prune once in late summer after flowering, removing around two-thirds of the current year’s growth. Then, prune again in early spring before new growth appears, trimming back to just above the woody part of the stem.
  • Fertilising: Lavender doesn’t require much fertiliser, but you can give it a boost by applying a balanced fertiliser once a year in early spring.  If you feel that your plants require a little of attention we would advise an environmentally friendly option such as Maxicrop liquid seaweed
  • Pest and disease control: Lavender is generally pest and disease-resistant, but it can be prone to root rot if the soil is too wet. Avoid overwatering and ensure good drainage to prevent this. You can also use an organic insecticide or fungicide if necessary.

Planting a lavender hedge is a wonderful way to add beauty and fragrance to your garden. With a little bit of preparation and care, your lavender hedge will thrive and provide years of enjoyment. Choose the right variety, prepare your soil, plant your lavender, and care for it properly, and you’ll soon have a stunning hedge that will be the envy of all your neighbours.

How To Grow Herbs Indoors
by Hetty (MS) | 25th March 2022

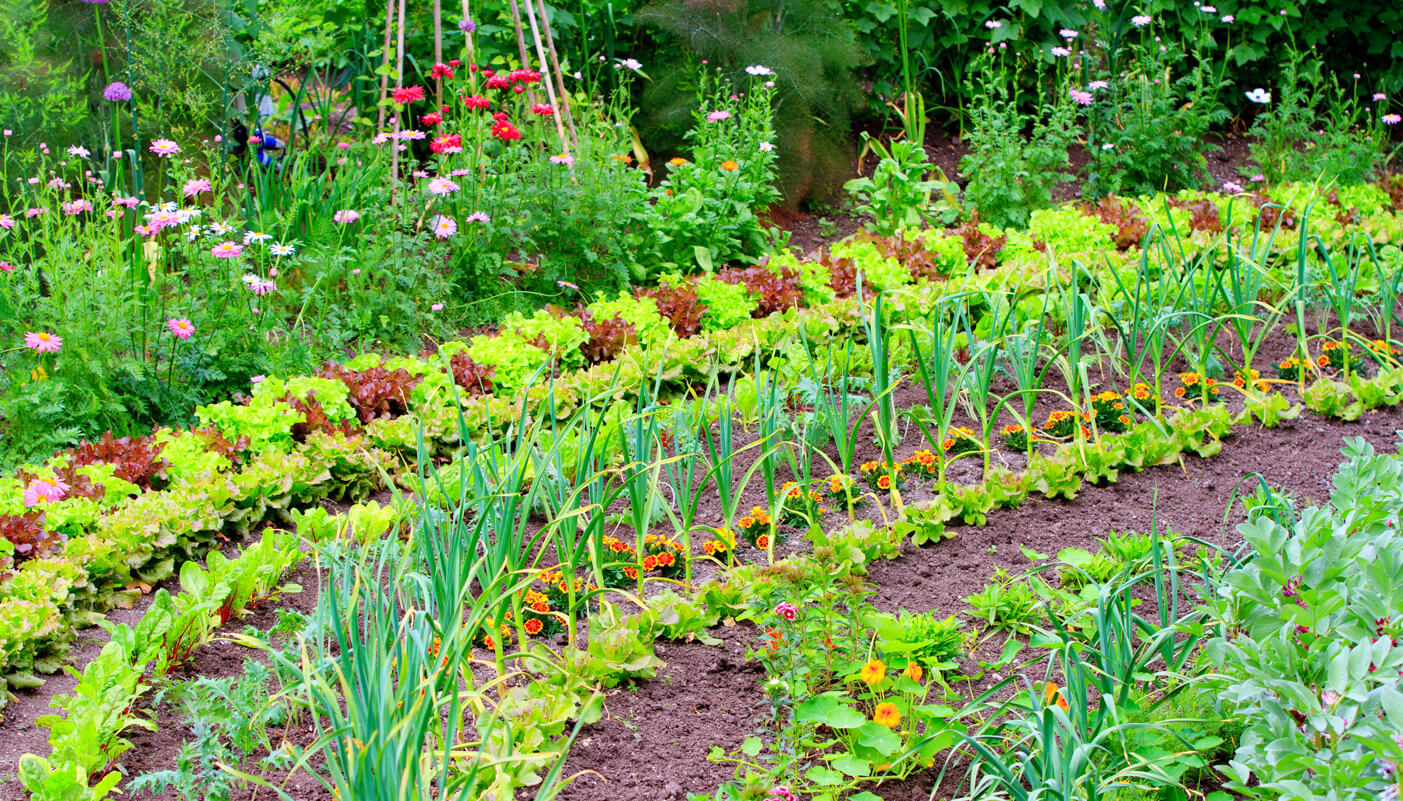
Herbs are perfect for indoor growing. They can make a stunning kitchen garden with the use of just a few pots on your windowsill. One of the greatest benefits of growing herbs indoors is the delicious aroma that they’ll give your home. Growing indoors also means that you can grow all year round, meaning you’ll have fresh herbs on hand whenever you need them.  

 Many herbs thrive indoors with minimal care. Some herbs will need a little extra maintenance in terms of space and temperature control. The main considerations are sunlight, water level and positioning. We have some handy tips to help you start your own indoor herb garden.  

Perfect Positioning For Indoor Herb Gardens 

To ensure you have the healthiest and tastiest herbs, positioning is key. Make sure you have a sunny windowsill, south-facing ideally, where your herbs will get at least 6 hours of sun a day. Make sure this is also draft-free as many herbs dislike draughty conditions.  

If you don’t have a sunny windowsill you can use a grow light. These will need to be placed close to the plants and be on for around 10 hours as they’re not as strong as natural light. If placed above seeds, these lights need to be really close at around 2-3 inches and raised gradually as the seedlings emerge and grow. Laidback Gardener has a great guide on the use of grow lights.  

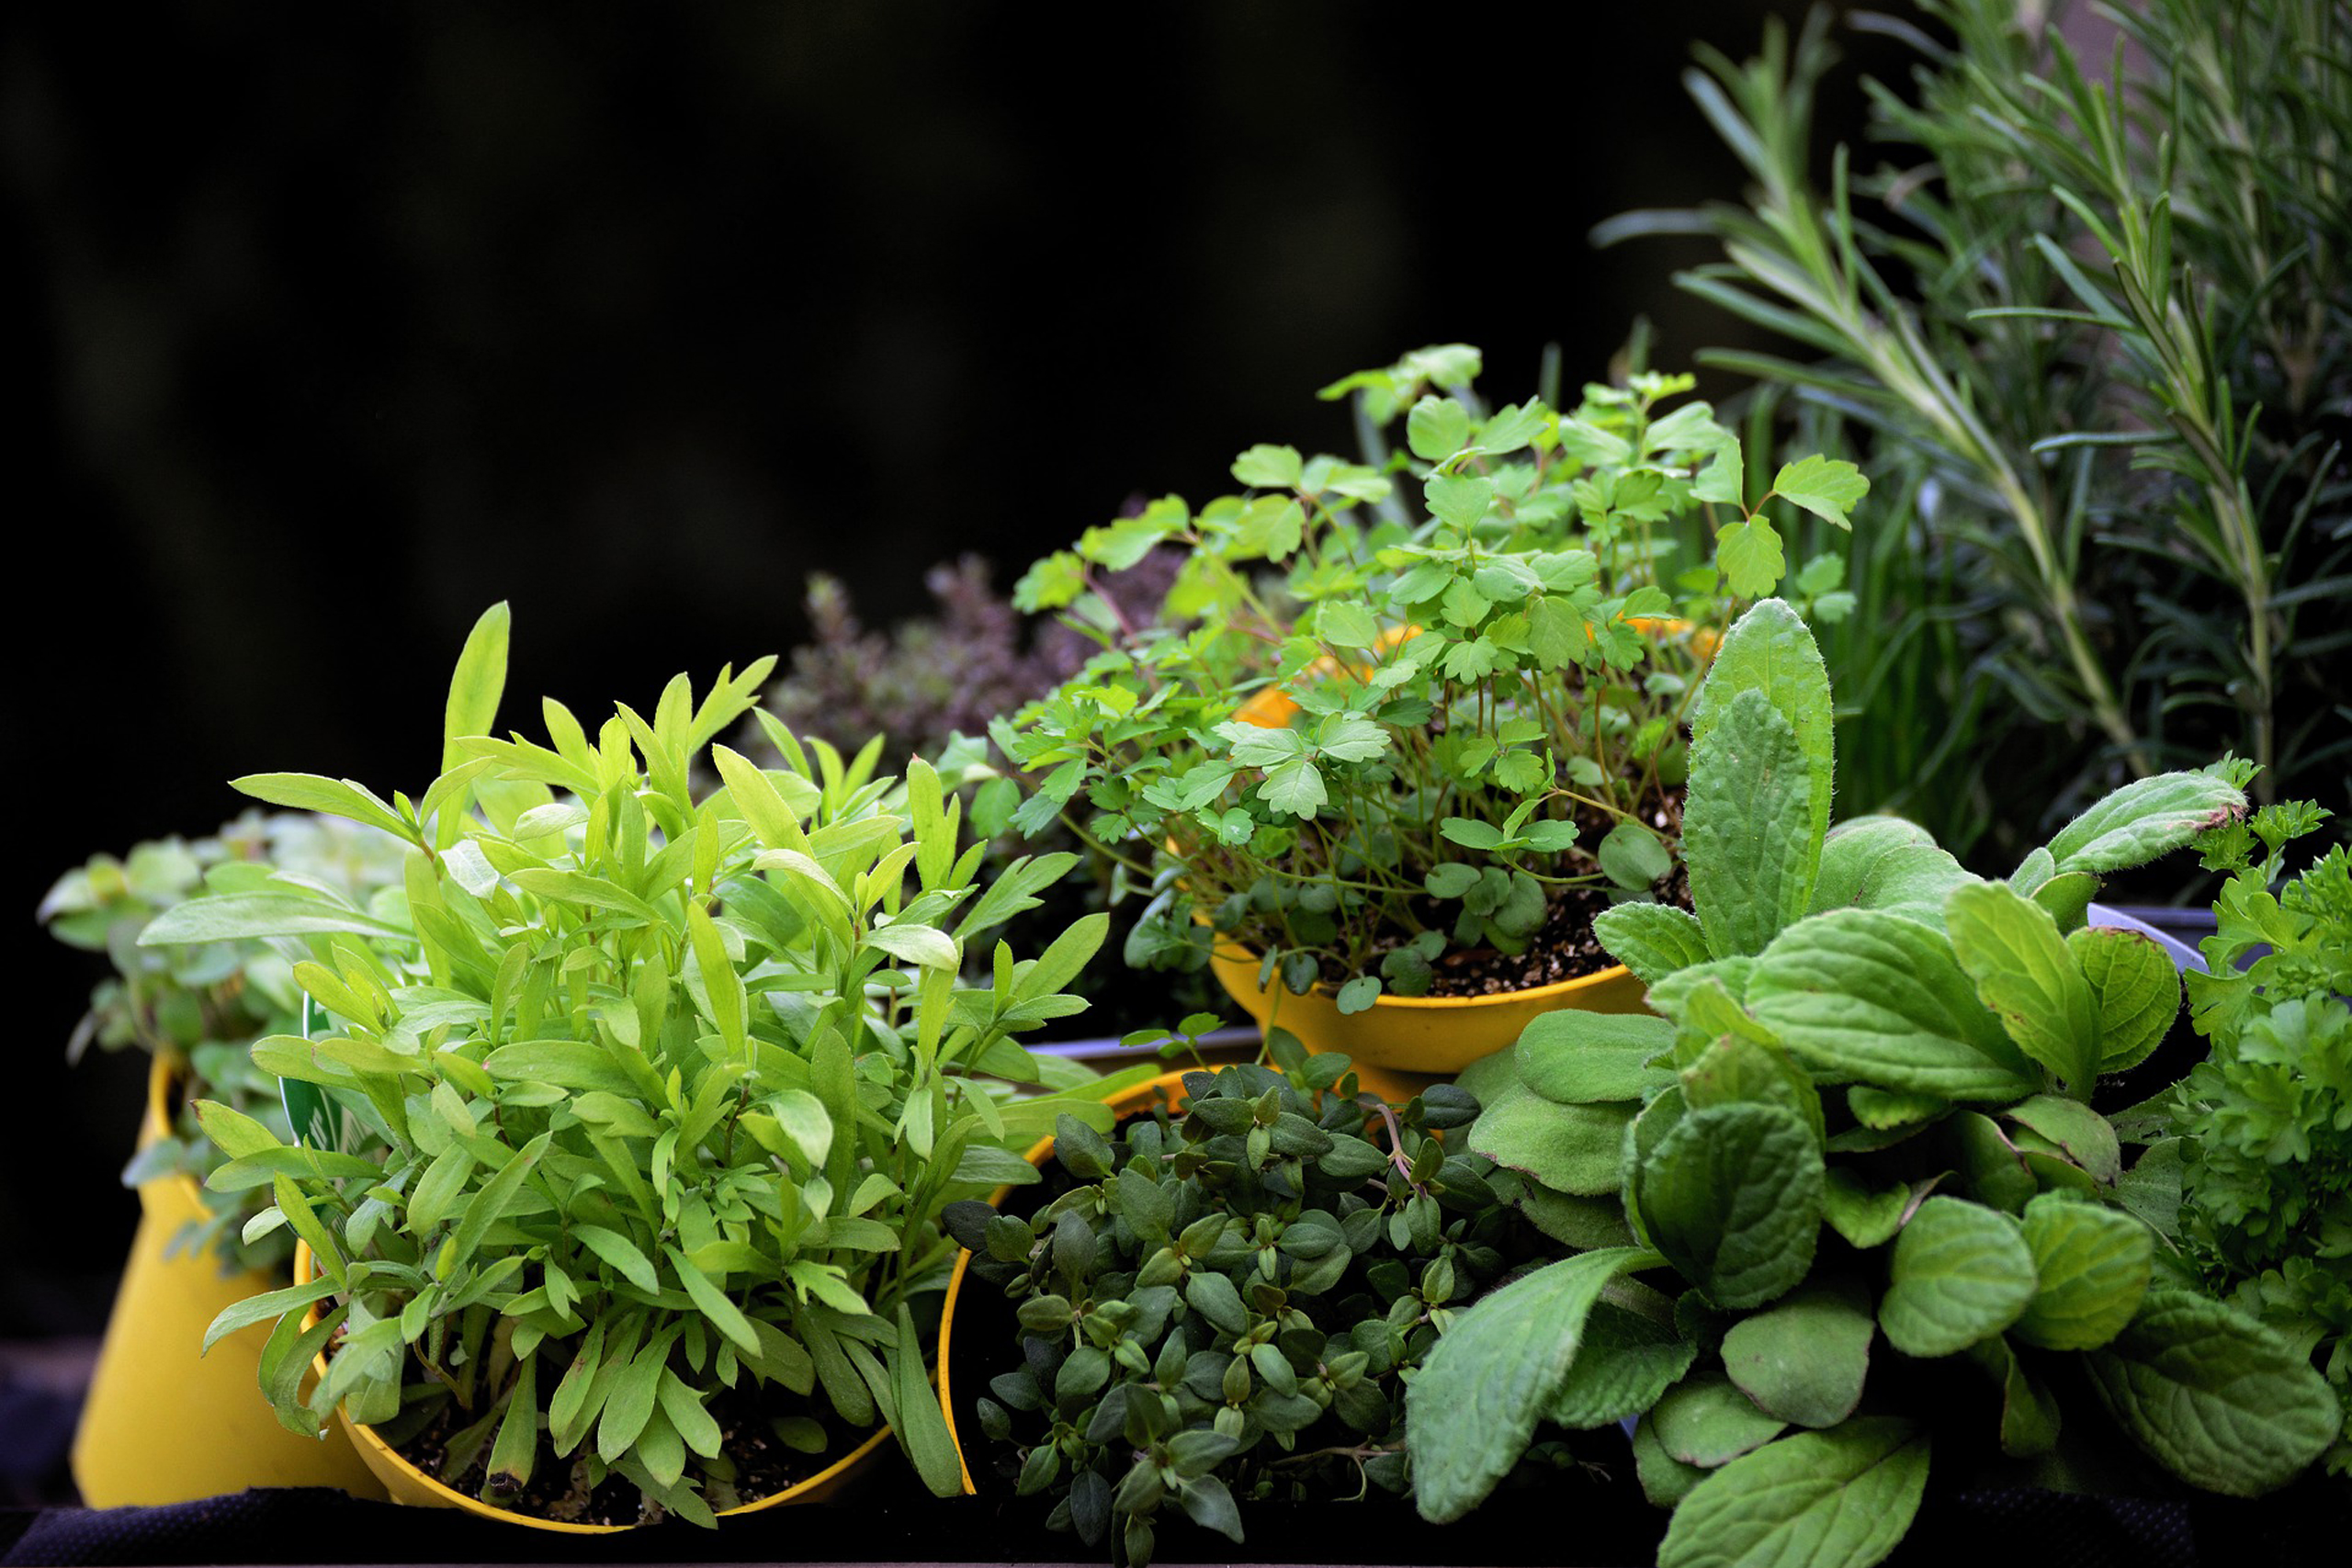
The Best Herbs For Growing Indoors 

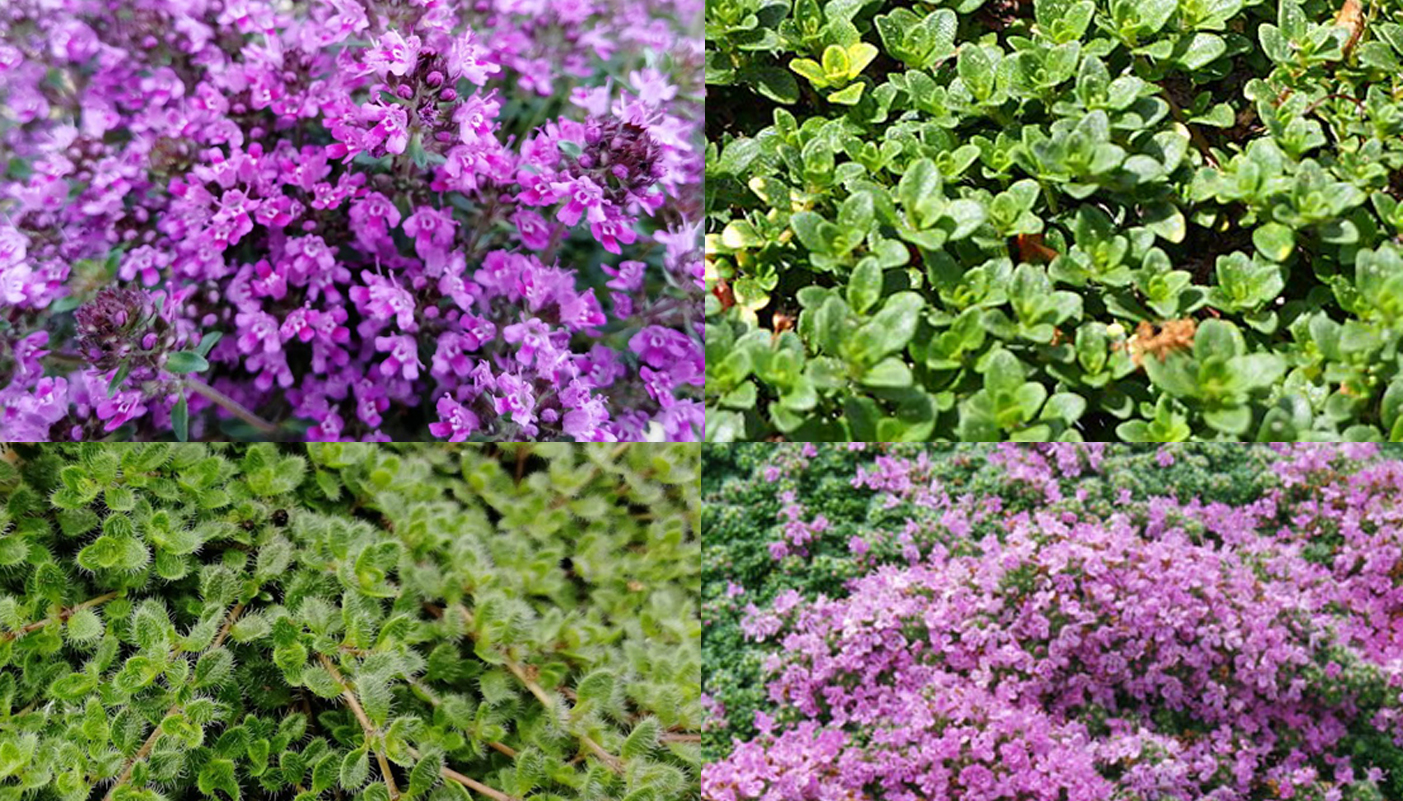
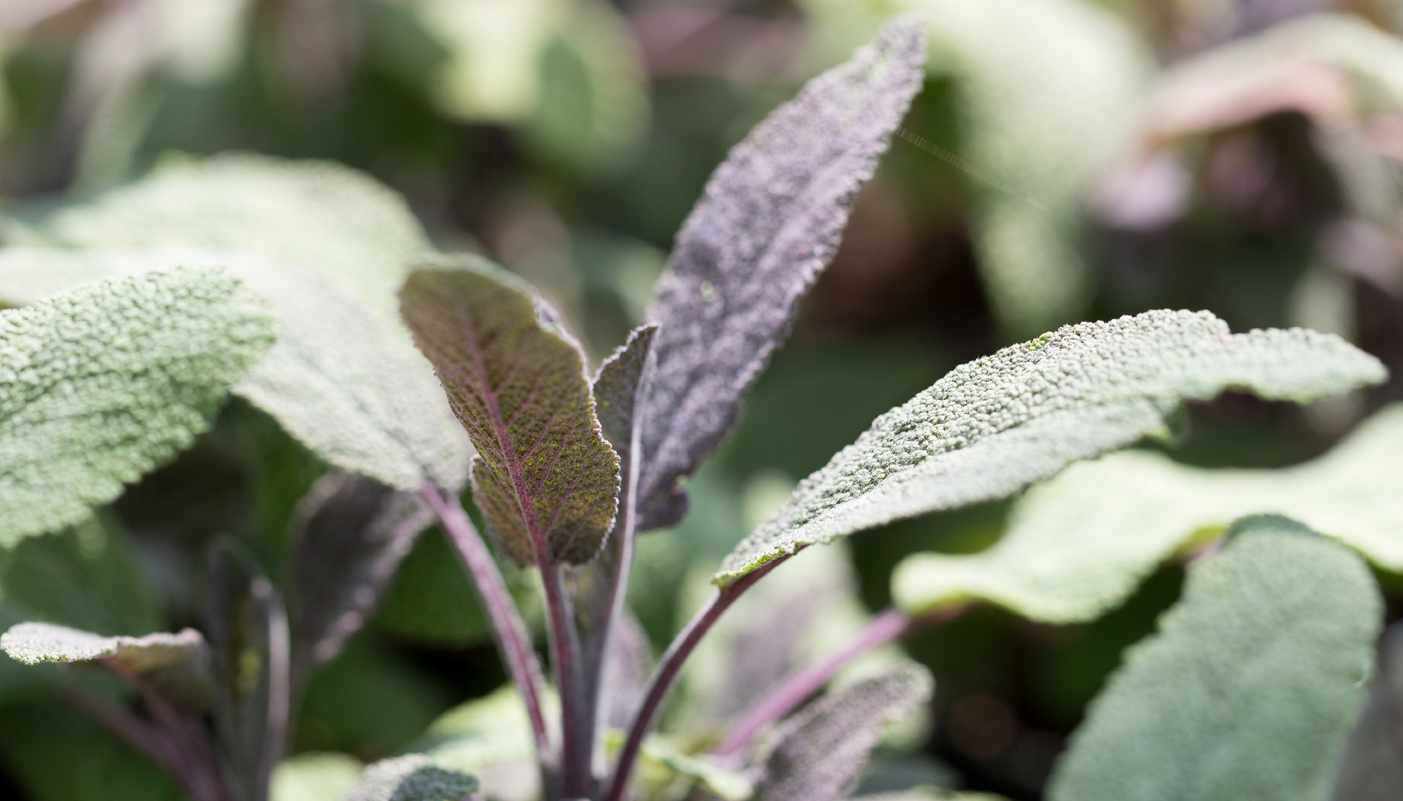
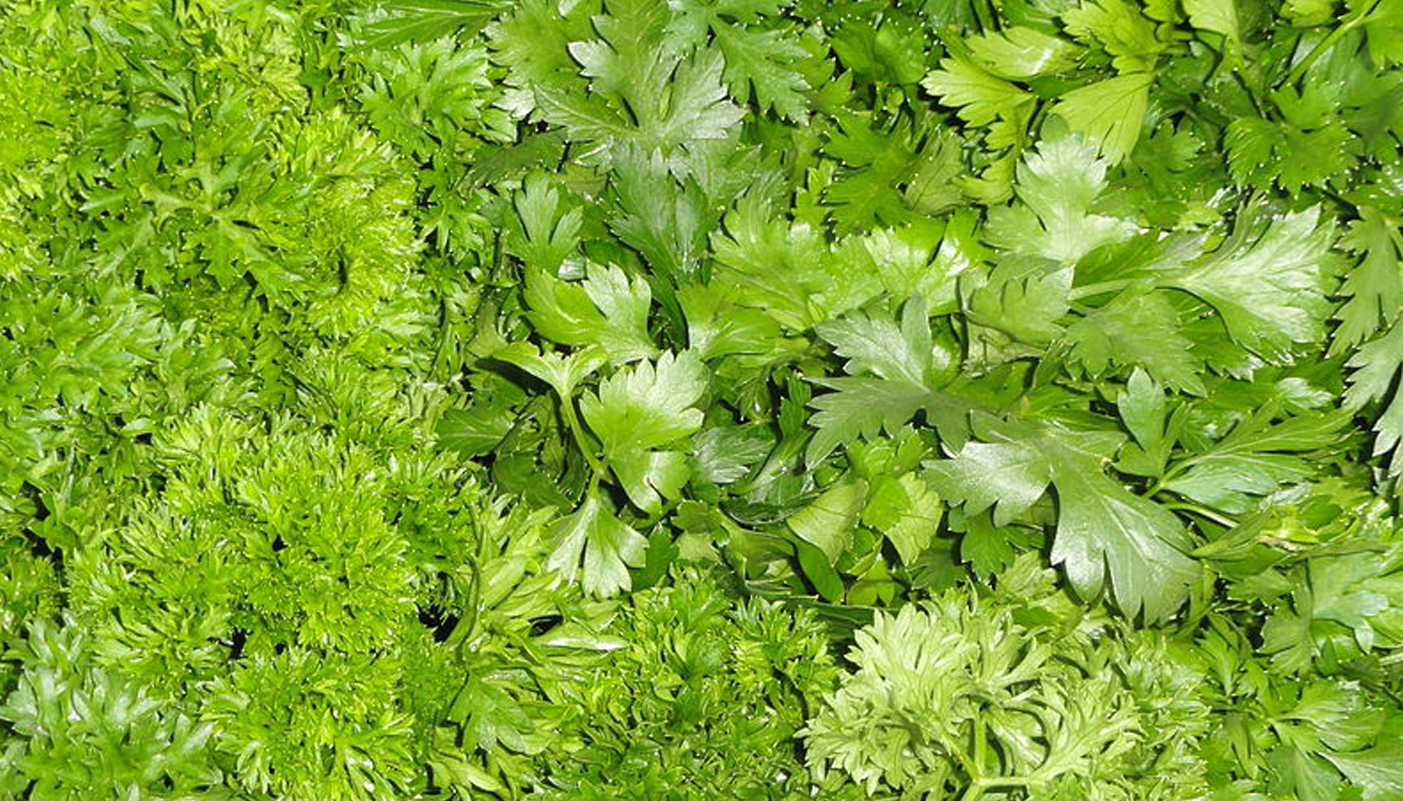
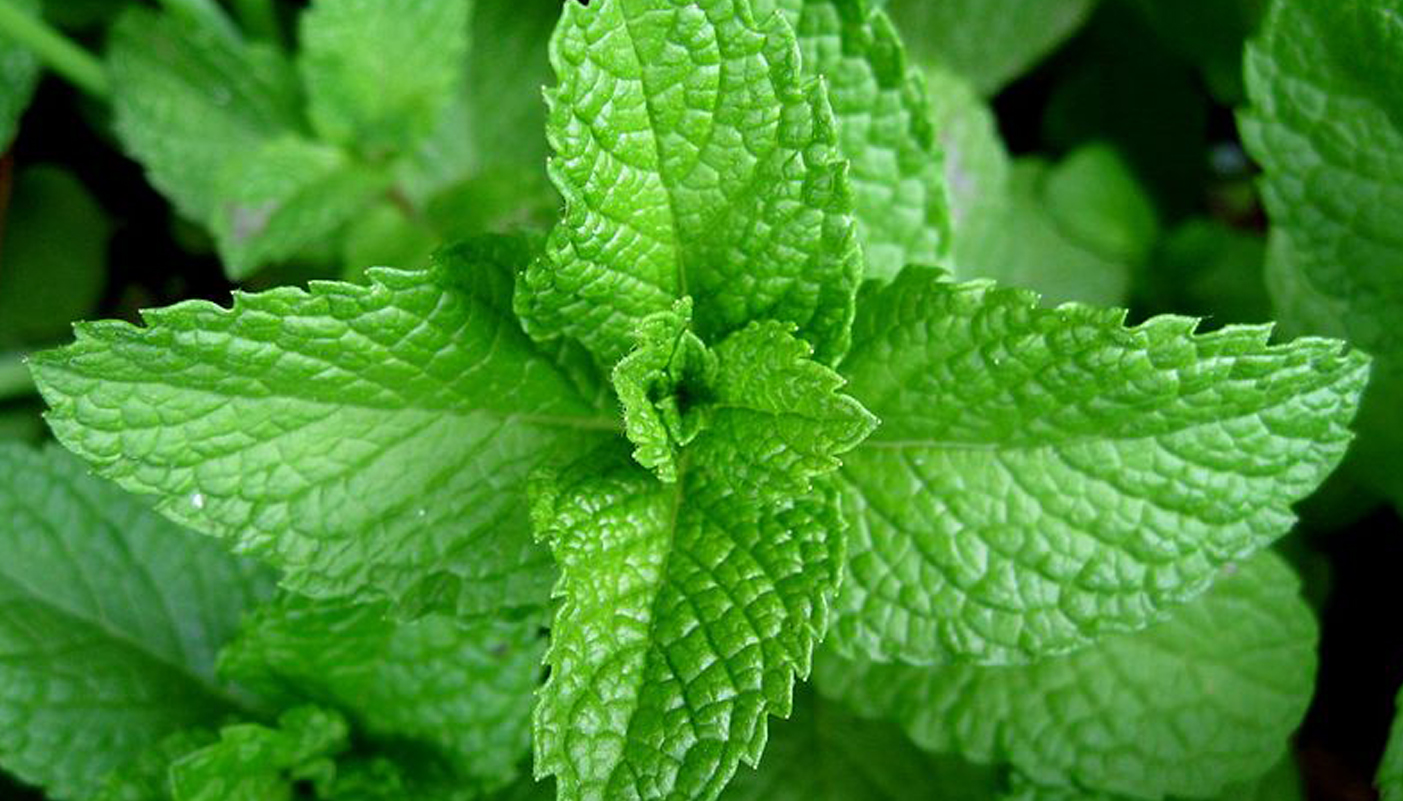
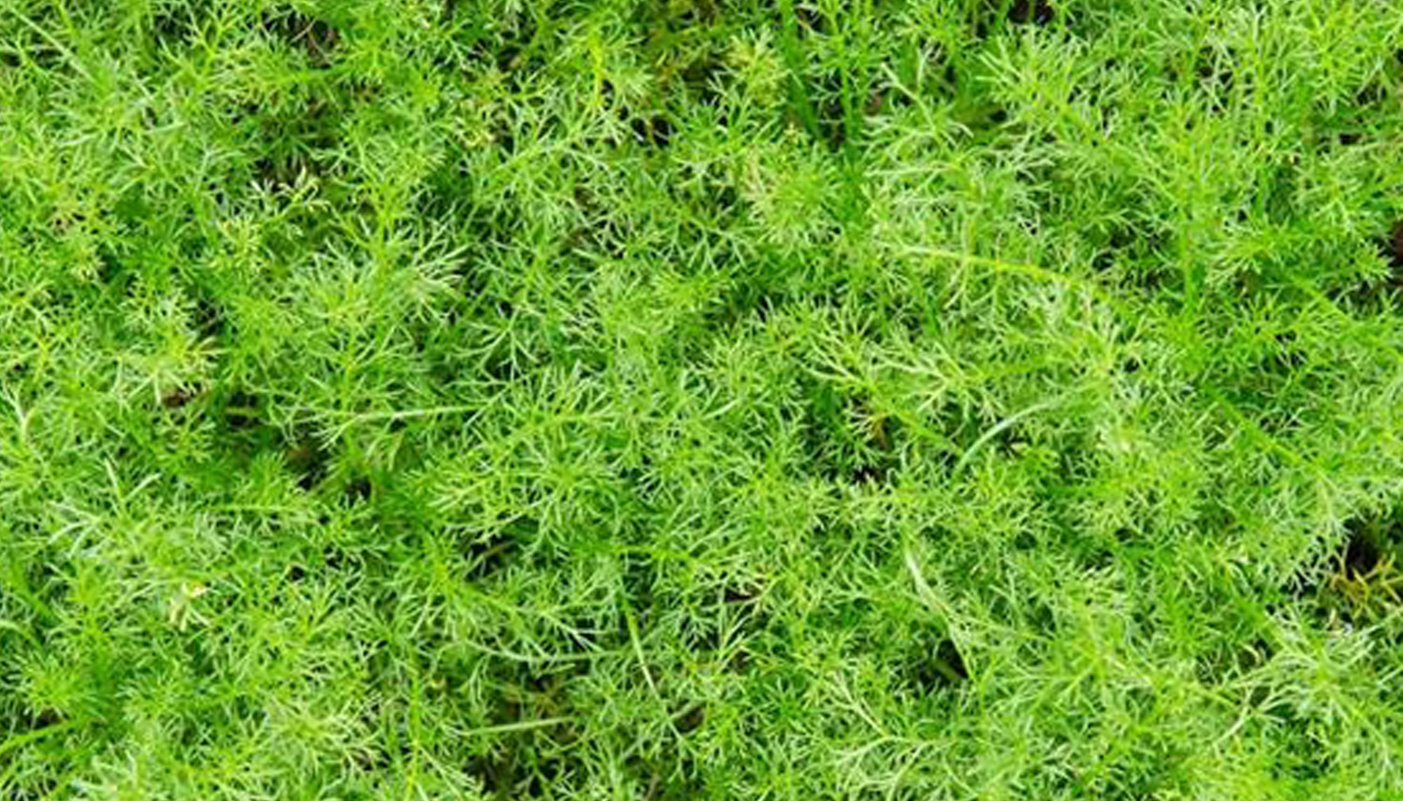
Some herbs are better than others for growing indoors. Generally speaking, herbs that don’t grow very wide or very tall are best. Basil, Chives, Mint, Parsley, Rosemary, and Thyme are good choices and offer a good variety of flavours for a number of dishes. Although a popular herb, Coriander is often preferred to be grown outdoors as its smell can be a little overpowering.  

Herbs can be purchased as established plants, nursery plants or seed packets. Starting from seed is relatively inexpensive but does require more attention. Starting from seed can be satisfying but it will be several months before you have usable herbs.  

Setting Up Herb Garden Containers For Seeds 

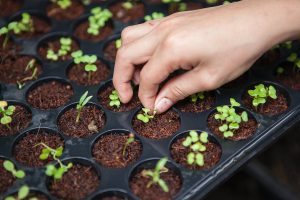
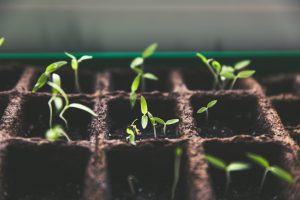
When starting herb seeds, first fill a container with dampened seed-starting mix to about 1 inch from the rim. Sprinkle seeds on top of the soil, well-spaced and cover them lightly. Pat down gently but keep the soil fairly loose. Cover your container with a clear plastic bag or specialist dome to retain moisture and increase humidity. 

Ensure the soil is kept moist until you see the seedlings poking through. At that point, remove your cover and continue watering to keep the soil lightly moist but not wet. Make sure the seedlings are getting plenty of sunlight. Turn their container daily, so that they grow straight. Once your seedlings are around 2-4 inches you can move them gently into a larger container or split them amongst smaller pots.  

Setting Up Herb Garden Containers For Plants 

When starting with young (Otherwise known as nursery plants), you’ll need a pot or container that is at least 6 to 12 inches wide and deep. Depending on both their size once they mature and their individual needs, you may be able to plant multiple herbs in one larger container. Your pot should have drainage holes and a saucer to catch excess water. 

 You’ll need to use a quality potting mix that’s appropriate to your chosen herbs. Start by adding a few inches of potting mix to the bottom of the pot. Then, gently remove the plant from its original pot and carefully loosen the roots. Place the plant in the new container and finish by filling it around the plant with your compost or soil. Lightly pat the soil until firm but not compacted. You should water lightly after planting to help your plant settle. 

Caring For Your Indoor Herbs 

Each of your herbs have different water needs, so you’ll need to make sure to check what your chosen herbs require. As a rule, most herbs don’t like to sit in very wet soil. If water accumulates on the saucer, drain immediately. It’s important to note that potted plants dry out more quickly than those grown directly in the ground. Dry indoor air can also increase your plant’s watering requirements. 

 You’ll quickly get used to how much water each requires and when. A good way to gauge your plant’s needs is to water until the excess starts to drain out of the bottom of the container. Try to avoid repeatedly giving your indoor plants small amounts of water. When watering until the excess drains away, you can be sure that any salts from the water don’t build up in the soil. You’ll notice salt building if a white film appears on the outside of your pots.   

 Each herb will also have varying fertiliser needs. Ensure you choose a fertiliser specifically for edible plants. Too much fertiliser or adding too often can lead to wispy plants or very delicate leaves. Likewise, if you notice your plants are struggling to gain any real growth traction, add a little more. You also will need to adjust your fertiliser timings and amounts with the seasons. Herbs in general will grow much more slowly in the winter months than in the summer and therefore, will require much less food during this time.  

When To Use Indoor Herbs  

You’ll need to allow your plants some time to acclimatise to their new home. For seedlings, you can start to harvest them once they reach around 6 inches tall. For nursery plants, you can start using them once you see new growth. Always use good snipping tools to protect your plant’s stems. For most herbs, you should gently cut 2 to 3 inches from the tips as needed. This will also encourage more lush growth. 

 For certain herbs, such as parsley and chives, you can snip the entire stem from the outside of the plants. In this case, any new growth will start to fill the plant back out. Be mindful to never take more than a third of your plant’s foliage at any one time. Harvesting more than this can stress the plant and cause it to deteriorate. 

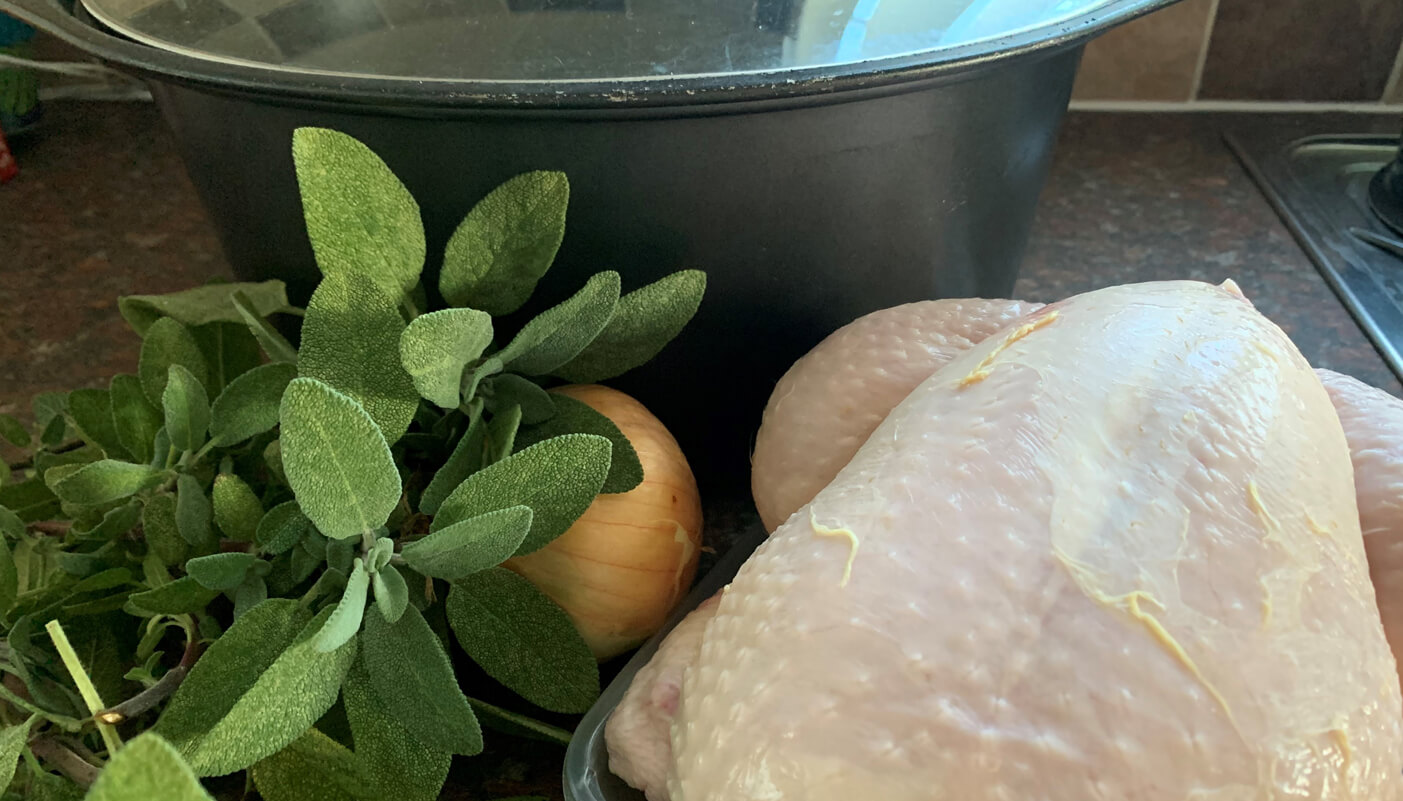
 Finally enjoy the fruits of your labour by adding them to your favourite dishes or use the chance to discover and try out new recipes. The addition of just one new herb can offer a wealth of new flavours to the food you love. Sign up for our newsletter for all the latest news, growing tips, recipes and of course, special offers.  


Ultimate Spring Herb Planting Guide For Beginners
by Hetty (MS) | 18th March 2022

Whether you’re growing herbs in a kitchen garden or outdoors, spring is an excellent time to get started. Herbs don’t need much space so make brilliant houseplants. There’s a certain satisfaction that comes from nurturing herbs until it’s time to use them. Growing herbs yourself means fewer trips to the supermarket too. Imagine having that fresh basil on hand for a last-minute pasta dish or ramping up your roast with rosemary you’ve grown yourself.  

When should you plant herbs in the spring? 

According to rhs.org “Sow seeds of herbs such as basil, chives and parsley under glass with or without heat from January to early April. Additionally, as soil conditions allow, you can sow a seed of chervil, coriander and dill, directly into the soil outdoors from March onwards”  

 If you’re planting indoors you won’t need to be so mindful of weather conditions. Young plants should, however, be protected from cold areas and drafts. A nice sunny windowsill is often the perfect place to grow some amazing spring herbs. Once the days get warmer and the sun stronger you should be careful to prevent herbs from becoming dry or scorched. Provide shade if the strong sun is in direct contact for long periods.  

How do you start a herb garden in the spring?  

The first rule of starting your own herb garden is sunlight. Herbs love light, especially sunshine. A windowsill with a few hours of direct sun is perfect. Select whichever pots fit your style and the space they’re going to live in. Water your herbs well and enjoy watching them grow.  

If growing spring herbs outdoors, again, sunlight is key. Choose a sunny spot that will also protect the herbs from strong winds such as a patio corner. If planting into large planters or directly into the ground, choose a good quality compost. Rainwater will generally be sufficient for outdoor herb gardens but during the drier months, you’ll need to keep an eye on moisture levels in your soil.  

Growing herbs in pots for beginners 

 Most spring herbs can be grown in pots or containers. You can either plant from seeds or perhaps easier for beginners, from young but established plants. If buying established plants, beware of those sold in large supermarkets etc as they will generally not be used to outdoor conditions.  

 Once your herbs are established, they can be moved outdoors. Choose containers that are fairly deep to allow the roots plenty of room. This also means they will be able to survive in the long term, giving you less risk of damaging roots when moving plants.  

Creating a spring herb garden  

In order to create a successful spring herb garden, you should: 

  • Use a gritty, well-drained compost or seed/potting compost. 
  • Keep the compost moist, not sodden.  
  • Use a balanced fertiliser to encourage the growth of leaves.  
  • Consider plans for overwintering herbs such as covering or moving indoors. 
  • Avoid watering leaves, instead water at the root.  

Growing herbs 

 Here’s a brief guide of some of the most popular herbs and how you can succeed when growing them. For ideas on using your successfully grown herbs see our Herbs and Plants Recipes or find loads of tips and meal ideas using homegrown herbs from @kitchenbuddy on Twitter. 

Basil

  • Grows best in rich, well-drained to fairly dry soil in a sunny spot. 
  • Is susceptible to the cold so only plant Basil outside after all danger of frost has passed   
  • Pinch off growing tips to encourage a bushy plant & pick the leaves to use during the growing season.  

Chives 

  • Thrives in rich, well-drained soil but can tolerate wet conditions. 
  • After flowering, cut right down to promote fresh growth. 
  • Leaves, bulbs and flowers can all be eaten.  

Coriander  

  • Likes well-drained soil, lots of sun but can be more productive in partial shade. 
  • Leaves and roots can be used in cooking. 
  • Seeds add delicious flavouring to curries and pickles. 

Dill 

  • Does well in well-drained neutral to slightly acidic soil.  
  • Leaves are usually cut from spring to summer and can be used fresh or dried. 
  • Seeds can be harvested in summer and used for cooking. 

Mint

  • Best grown in a container due to its rapid and vast growth. 
  • Likes rich, moist soil in a partly shaded area. 
  • The aromatic leaves can be used in cooking or to make mint tea.  

Parsley 

  • Prefers rich, well-drained neutral to slightly alkaline soil. 
  • Leaves should be picked before flowering. 
  • This versatile herb is widely used in many cuisines.  

Rosemary

  • Shelter from cold conditions in a sunny area.  
  • Ideally likes natural or alkaline soils. 
  • Leaves can be harvested and used fresh or dried to add deep flavour.  

Thyme

  • This hardy herb can thrive even in stony, poor-quality soils. 
  • Should be trimmed after flowering to promote bushier growth. 
  • Leaves can be used fresh or dried to add flavour to a variety of foods.  

What do you do with herbs in the spring? 

 Herbs are some of the earliest perennials you’ll see once spring is in the air. To ensure a successful growing season and subsequent harvest, you’ll need to take a few steps in early spring. Colder weather can often return unexpectedly so early arrivals will need to be covered with a loose layer of compost or soil to protect them. A few inches is perfect.  

The next thing you’ll need to do is trim any stalks or leaves leftover from last year. Now is also the time to loosen the top layer of soil. Clear any winter mulch and add some nutrient-rich compost.  

 Some herbs may have outgrown their pots. Early spring is the ideal time to re-pot. To do this simply remove from the current pot, cut away the lower quarter of the root bulb and replant in a larger container. Alternatively, you can carefully split the plant and root bulb into two or more and re-pot in smaller containers. Ensure you re-pot using fresh compost or soil that is suitable for your herb.   

Buy growing herbs  

 When buying growing herbs, it’s important they’ve come from a reputable retailer to ensure the best start. Herbs which have been nurtured properly in their early stages are more likely to thrive once at home. Our herbs are grown by specialists who have been growing them for over 30 years. They grow herbs in a combination of modern glasshouses and outdoors. This allows them to produce the best quality plants and us to sell you herbs with greater longevity.  

Start your herb growing journey this spring

Protect your herbs for winter
by Hetty (CL) | 2nd October 2019

You’ve spent all spring and summer nurturing and looking after your herbs don’t don’t forget some will require a little more tlc to help them through winter.  Help prevent losing your plants due to frost and waterlogging by giving them a little extra attention.

The wet weather can kill more herbs in winter than the cold alone so move any pots and containers to a more sheltered position such as the side of the house or wall, this helps avoid about 25% of rainfall.  Raising pots by standing on bricks or similar will help ensure the containers are well drained.  Only water during the winter if pots are very light (hence compost is too dry) and do so in the morning rather than night time when frosts are more likely.

Trim evergreen herbs to a dome shape (don’t forget the cuttings can be preserved) to protect from high winds, ensure you don’t prune too hard as they may not recover.

Some herbs naturally die back in winter, such as tarragon and mint but will generally grow back (if in a location where they won’t get frozen) in the spring.

Thyme Lawn
Thyme Lawn
by Hetty (CL) | 22nd May 2019

A great way to add some interest to your garden, bringing colour and encouraging pollinators is a Thyme lawn.   They are an appealing alternative to grass for lawns and are becoming increasingly popular, especially to give a lower maintenance garden or in areas of low use.  A Thyme lawn is not only drought resistant but it generally requires much less water than a traditional lawn and little or no mowing.  Most varieties of Thyme will tolerate low foot traffic, where you are expecting to have a higher foot fall it’s advised to add some paving slabs or gravel.  Another bonus is that it will produce an abundance of pretty flowers in the spring/summer as well as a beautiful aroma when stepped upon.  You can either plant one variety or why not try a selection to grow a patchwork lawn.

Choose the location of your lawn in an area which has lots of sunlight.  When preparing the area for planting it’s important to clear the area of weeds.  Ensure the soil has plenty of drainage as the plants do not like to be waterlogged. Plant the Thyme about 6-8 inches apart (6″ apart equates to 36 plants per square metre)

Ideal times for planting a Thyme Lawn is between March and May or September and November.

Most of the creeping varieties of thyme are suitable for planting, see some of our favourites here:

Or have a look at our creeping collection by clicking here

Another popular lawn is the chamomile lawn, to find out more can see our growing tip page here

Garlic
Garlic
by Hetty (CL) | 19th February 2018

Garlic is simple to grow and versatile to use, being a key ingredient in many Mediterranean and Asian dishes.

Plants should be set in a sunny, fertile location.  Best planted late autumn or early winter, generally before Christmas.  Make sure the soil is weed free, weed suppressing membrane can also be used.  Plant the cloves approximately 10cm apart by pushing into soft ground or pre-made holes and if planting in rows, space 30cm between rows.   Cover with bird netting until the shoots of the new plants are 5cm.  Generally garlic does not require additional watering although may need it occasionally during Spring and early summer if there are dry spells to improve yields.  Do not water once the bulbs are large and well formed as this could lead to rotting.

Garlic can also be planted in containers if space is short or if the soil has previously been affected by onion white rot.  The container should be at least 15cm wide and deep and filled with a good multipurpose compost.  A container this size will be sufficient for 3 cloves.

Garlic can be planted later in the season by starting it off under cover.  Put one clove in a 10cm pot and place in a cold greenhouse.  Move into the garden in March or April before the shoots are 10cm high.

The leaves can be harvested once green and used in salads but bulbs should not be harvested until the leaves have turned yellow.  Carefully lift the new bulbs with a fork.  Lay the bulbs out to dry in an airy location.  Once dry they can be stored in ventilated containers until ready for use.

Sage
Sage
by Hetty (CL) | 19th February 2018

Sage is most famously used in sage and onion stuffing but being a strongly scented herb can be used to flavour many vegetable and meat dishes.  It’s leaves, both fresh and dried, can be used to make teas.

Plant your sage plants in a sheltered spot protected from strong winds but in full sun ensuring the area is weed free. The leaves can be picked at any time and can be frozen if you have an abundance.  To protect your plants in the winter cover them with a layer of horticultural fleece during the winter months.

Our range of sage currently available can be seen here or for the full range see our catalogue, here

Parsley
Parsley
by Hetty (CL) | 19th February 2018

Parsley is an annual which is grown for it’s flavoursome leaves which are used for garnish or chopped into sauces, butters, dressings and stuffings.  Parsley curled is more suited as a garnish while flat leaved (French or Giant Italian) has a stronger taste and is easier to prepare.

Plants can be planted outside from early spring to the start of summer in well-drained soil in sun or partial shade.  Keep the plants well watered, especially during hot, dry spells in summer.  Remove any flowerheads to extend the cropping life of the plants.  Snip off any lower shoots that start to turn yellow.

Cut single leaves or bunches low down on the stems with scissors and use fresh, it can also be frozen to provide an all year round addition to your dishes.

See what parsley we currently have available for sale here

Mint
Mint
by Hetty (CL) | 16th February 2018

Mint is best planted in the spring as young plants, it is a vigorous plant and will spread all over if planted directed into the ground so it’s ideally suited to large pots filled with multi-purpose compost.  It requires plenty of water, especially during hot dry weather.  Plants will finish flowering in the summer, once this happens cut the flowered shoots back to 5cm above the surface of the compost.  Plant different varieties in different pots to avoid them losing their individual scent and flavour.  You can rejuvenate congested clumps by upturning your pots, removing the rootball, splitting it in half and repotting a portion in the same container with fresh compost.

Mint will die back over the winter period but can be picked between late spring and mid-autumn.  Pick regularly to keep plants compact and to ensure lots of new shoots.  Mint is best fresh but to ensure supply during winter months wash well, dry, chop and then freeze.

For our full range see our catalogue or to see what we currently have available please click here

Chamomile Lawn
Chamomile Lawn
by Hetty (CL) | 13th February 2018

A chamomile lawn is ideal in sunny areas where footfall is low and makes for a low maintenance lawn with a beautiful apple-like scent.  The Treneague cultivar is the traditional variety used and is non flowering.

A light sandy soil is best for a chamomile lawn, avoid soils which are too dry or equally soils which are too moist but a chamomile lawn does requires some degree of moisture.   The lawn does not require regular mowing, just once at the end of the summer is normally sufficient.  This lawn is also not recommended for areas where dogs may foul as it will kill wherever this happens.

Plant your lawn in a weed freed area, if necessary spray the area with weed killer a couple of weeks prior to planting to reduce weed growth.  Plants can be spaced between 10cm and 20cm apart, depending on how patient a gardener you are and how quickly you would like to see fuller coverage.  If planting 15 cm apart with the rows staggered then you will need around 50 plants per square metre.  The plants should then not be walked on for at least 12 weeks.  Your lawn can be planted from April to early September, once planted your lawn will stay green even in dry summers unlike a traditional lawn.

Click here for plants or here for plugs.

Connect with us on Facebook Connect with us on Twitter Connect with us on Pinterest Connect with us on Instagram
There are no products